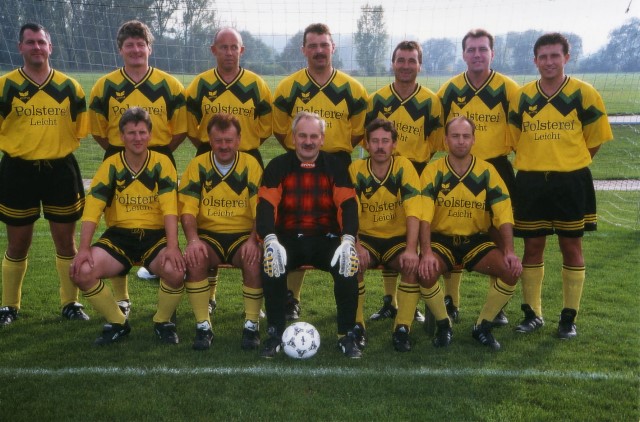
AH-Mannschaftsbilder

Anfang Vor Nächste Ende

Images/ah_mannschaft0009.jpg

Seite 2 von 4